Essay About Anime Drawing Style
Manga and Anime Week Having struggled my way through this myself, I'd like to share some advice and my thoughts on approaching more complex backgrounds or how to start.
In my experience, backgrounds are often seen as difficult and/or challenging, especially by beginning artists, and many tend to avoid complex ones in the beginning. A mix of scary technical terms such as 'perspective', 'composition', 'lighting', 'values' and so forth is often associated with them, which can easily seem overwhelming. And, since backgrounds can sometimes very much be considered as pieces of art on their own; they requires essentially as many various skills as drawing anything else.
1. Types of backgrounds
First of all, it's important to note thata background doesn't have to be an incredibly realistic detailed painted landscape to be considered 'good' or 'amazing' even.Depending on what you're going for, even a monotonous or abstract background can have a great impact! It can be very powerful to balance great detail (in your foreground, extra objects, characters. and so on) with simplicity, like in the examples below
Other themes that are often used for more complex backgrounds are nature, landscapes, cityscapes, skies, rooms, buildings, and many more. Different types of backgrounds can require different skills, for example, cityscapes are often more demanding when it comes to perspective, while nature may require better rendering skills. Nonetheless, there are things that are good to know for all types of backgrounds, so let's have a look!
2. Inspiration and ideas
I often have a general idea of what I want to do with the background if I start on an artwork, but it's hard to work from that alone. That's why I like to take inspiration from all kinds of resources; pictures I find online or that I have taken myself, work from other artists, and so forth, and have folders on my computer where I store images that I find interesting. Sites such as Pinterest can also be really helpful for browsing for inspiration and storing images you like! You can mix and combine images that fit your ideas or inspire you and make a collage.

Example of how some of my inspiration images have influenced
the final background in In Nomine Iustitia.
If you're really stuck for inspiration, ask yourself some questions. What suits your subject? Are there objects easily associated with your character? Are there symbols that you would like to include? And remember, as seen above, a good background doesn't have to be all that complex, either.
Don't be afraid to use references. This applies to all aspects of your artwork; if they're available, use them! It's very hard to make a background look believable just from memory or imagination alone, especially when it comes to rendering. A quick Google search will often already find you some good reference images if you're stuck.
Of course, it is important that you are responsible with your use of references and resources. Especially when taking inspiration from the works of other artists, be aware of the difference between taking inspiration from a certain artwork you like or blatantly copying concepts or backgrounds in obvious ways. If you look at the example above, I have taken the idea of a small round gazebo in the background, but I did not directly copy the design. When you heavily reference a resource, don't forget todon't forget credit the original when you submit online.
3. Where to start
If you have enough inspiration but are really at a loss when it comes to where to start, it might be useful for you to start out with a few thumbnails. Thumbnails are small-scale sketches that can be as rough as you like, but are meant to test out a few ideas quickly, from which you can pick the best and base the main sketch on that tumbnail.

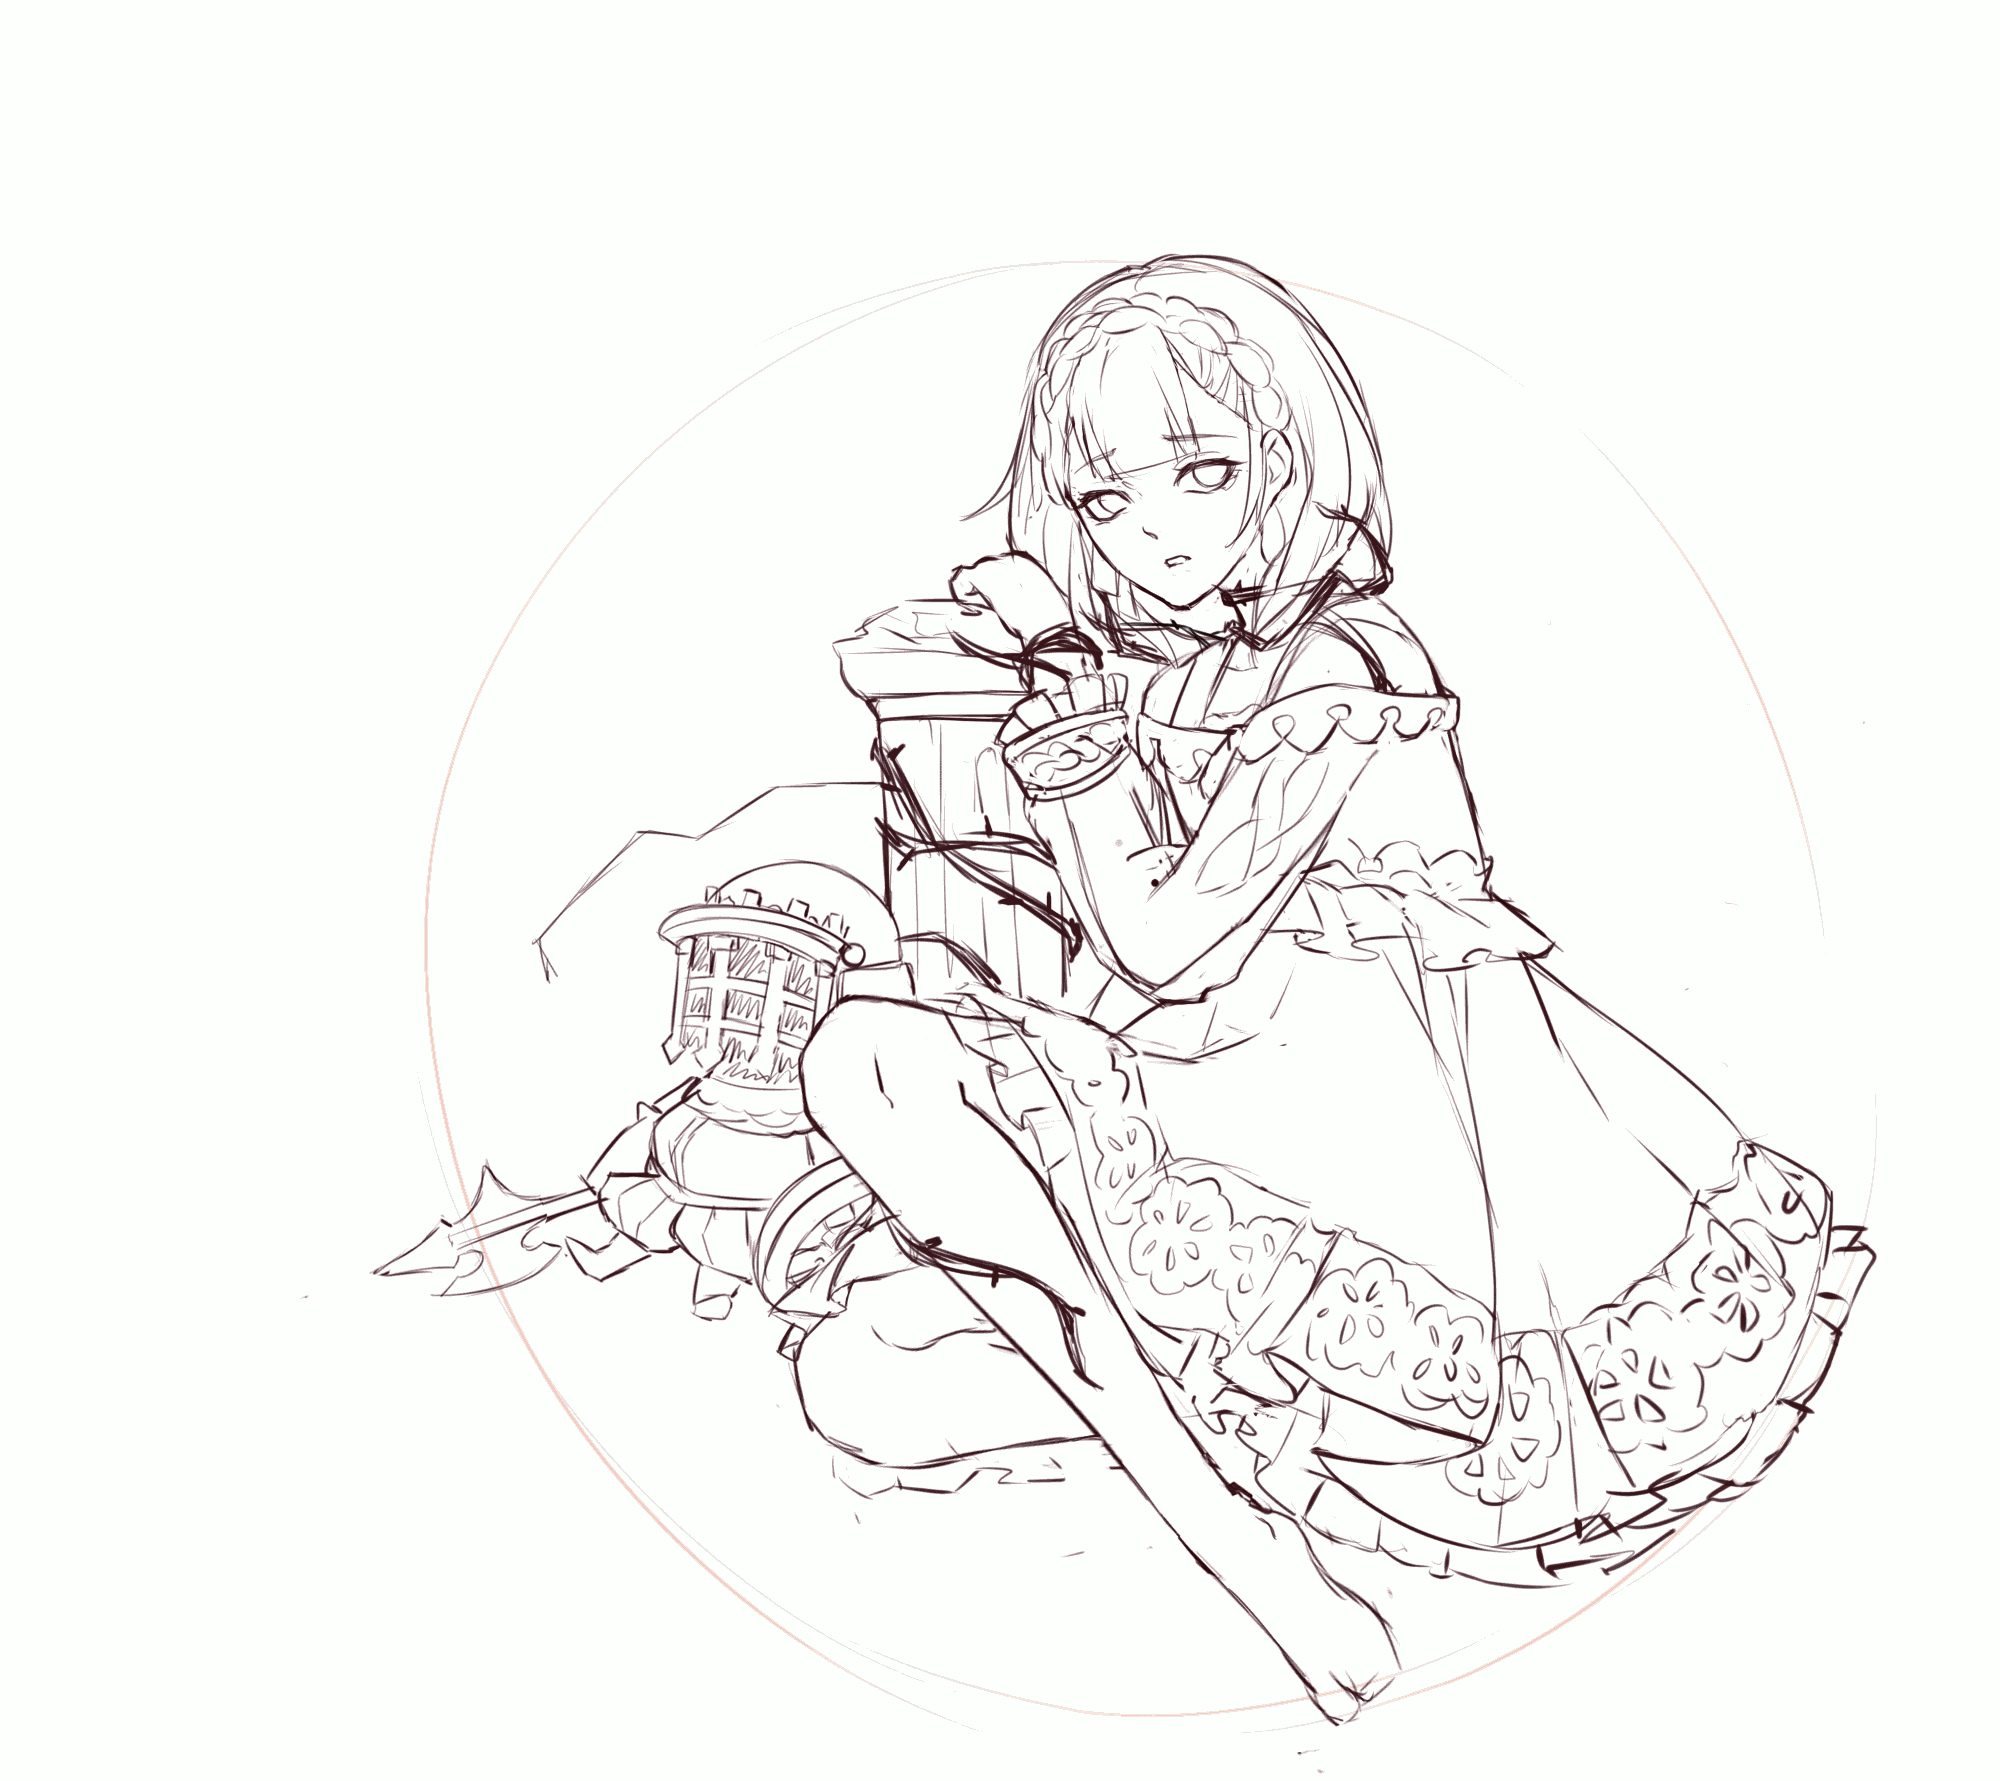
If you've picked out a good thumbnail, you can start on laying out the main features of the background.Preparing your background is just as important as the main subject of your art, especially with complex backgrounds, but you can approach it in different ways. Some like to sketch out and then use clean linework for the background, others keep it more loose and sketchy, and I personally like the 'digital painting' approach.

I like to start my backgrounds by roughly laying out objects, shapes and colours,
and for more detailed parts I'll add a sketch first.
When you're in this stage, don't attach yourself too much just yet and don't be afraid to play around with composition. Your first idea is not always the best, and some small adjustments like enlarging an object, moving it to the left or to the right, or even deforming it slightly can all have a big effect.
4. The power of suggestion
(also known as 'clever laziness')
I would like to address this as a separate point from anything else I am going to say in this article, because in my opinion this is one of the most important things to know when it comes to art, especially in the case of backgrounds.
One of the most powerful tools for an artist is being able to speak to the imagination of the viewer. Oftentimes, a suggestion of an object can be enough for the viewer to 'complete the scene' for themselves, with little effort of the artist. Human brains are well-trained in recognizing patterns based on their experiences, and as an artist, you should try and take advantage of this!
For example, imagine you want to draw a castle in the background of your art. You could spent a lot of time and effort designing and drawing an entire castle in the right perspective with all kinds of small details such as the individual bricks of the castle.This would take an eternity, and you might feel demotivated to continue halfway through because it's so much tedious work and the composition ends up far too stiff for your liking.Another approach you could take is the following; instead of designing and drawing the entire castle, you could just include one or two of the castle towers in the background and the viewer will imagine the rest of the castle attached to these towers. Or, you could include the silhouette of the castle in the far distance of a landscape.
Am I saying that being lazy all the time is a good thing? Probably not, and you should definitely challenge yourself from time to time in order to improve. However, be lazy in a smart way and be reasonable about what you can and cannot achieve at your current level.Try to judge decisively if something is worth the time you're spending on it, or if you could achieve the same (or even better!) effect by choosing something simpler. You don't have to be a perfect expert on the anatomy or details of animals, plants, buildings and so forth. You can add in vague shapes in the background, and most people will still be able to recognize them as flowers/plants, and so forth, without them being fully rendered, like in the examples below.
:origin()/pre00/61f3/th/pre/f/2017/344/a/e/fgo_salem_by_sishenfan-dbwb8f5.jpg)


(works by shishenfan, robotfish, alchemaniac)
Using and mastering these types of 'lazy' techniques doesn't make you less of an artist. I would rather argue, that if you know how to use this well enough, you have become abetterartist. If you know the implications of leaving things vague, such as creating depth or changing the main focus of your work, you can use them to your advantage. Depending on the style and message you're going for, photo-realism is perhaps not the most important aspect of an artwork, especially in an era where we carry portable cameras around everywhere and can take a picture of whatever we like at any time. While photography is an art of its own, what is your interpretation of the object/character/scene?
In other words, you don't even have to be an expert on landscapes, foliage, perspective, buildings, etc. to come up with a good background! Don't hesitate to experiment!
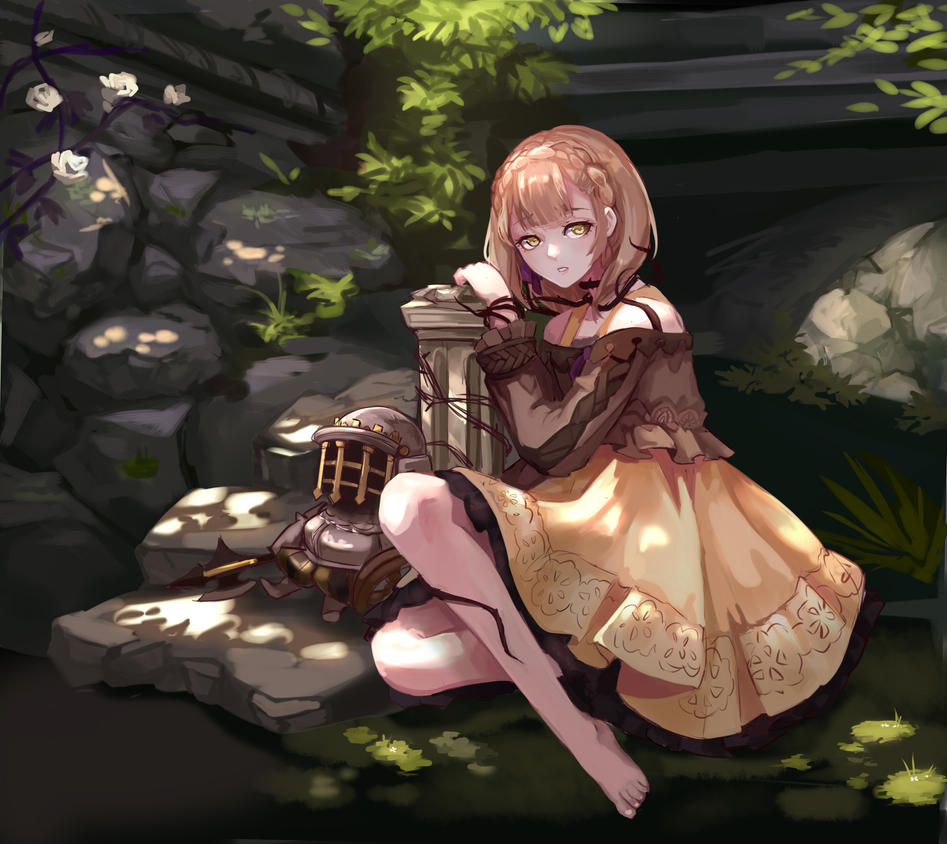
5. Building on your sketch
Now you've laid out the base and learned how suggestion can be a powerful tool, it's time to transform your idea into a final product. One of the reasons that you shouldn't get too attached to the sketch, or shouldn't be disappointed if the sketch doesn't look as spectacular as you had imagined it, is that it is a base, and not a final product. Creating backgrounds is a process, with learning moments, sudden ideas and revelations, struggles, problems and solutions.
Process gif of Cursed Slumber
Light and Shadow, Depth
The part that brings your background to life the most is adding depth through light and shadow. Keep in mind the light source that acts on the character and think about how it will affect the objects in the background. Add highlights and shadows accordingly, and your background will instantly look more '3D'.

The flames in the foreground cast light on the edge of the clock in the background.
The clockwork inside is mostly shielded by the foremost parts of the clock, thus
appears darker.
Rendering
Rendering refers to paying attention to textures and structures of objects. Remember those references you gathered at the start? Now is the time to use them! (And probably find out you don't have enough and have to find more :'D ) While you've figured out the general light and dark areas previously, it is now time to think about how certain materials interact with light. For example, some surfaces like metal are very shiny, while some fabrics or untreated wood react to light in a very different way. If you're not sure, look up some more references and/or tutorials! The more practice you get with this, the easier it will become.
And again, think about the power of suggestion. The viewer probably has a good idea of what the grass you're drawing should look like, but more importantly, the viewer knows what it shouldn't look like, as well. It's more pleasing to the eye if something is left more up to suggestion, than defined in an incorrect or unnatural way.
By adding lighting and more detailed shapes, the shapes in the first images appear more like rock or leaves.
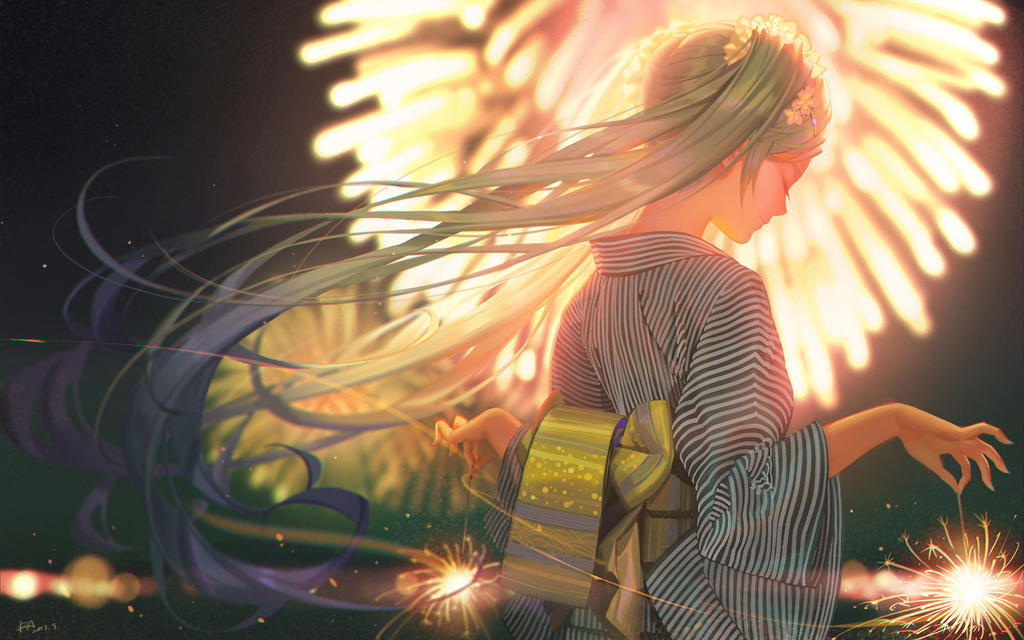
6. Immersing the character(s) in the scene
What I notice with a lot of artists (including myself), especially in the anime/manga style, is that they (used to) consider a background as an 'add-on' to their artwork; something you add at the end. As a result, it sometimes looks like the main subject of the drawing, for example the character, is just 'pasted on top' of a background, instead of actually being part of the environment. In some cases, especially with simpler backgrounds such as colours and patterns, it's okay to add them at the end, but with more detailed ones, it is very important to think about it as a piece of the illustration that might be equally important as the subject (such as a character).
This part is about how to make it look like your subject or character is actually a part of the environment in the background, instead of 'pasted on top of it'. There are many ways you can achieve this, and many technical aspects behind this. For the sake of the length of this article, I will not go too deep into technicalities, but if you would like to know more about a certain aspect, do not hesitate to look up more tutorials on the topic! There are plenty of good resources out there~
Light
Lighting can often be a very strong, if not the most important, factor in making it believable that your character is part of the environment instead of just in front of it. Try to make sure that the light is coming from the same direction with both the character and objects in the background (unless you have multiple light sources). If there are light sources present in the background, think about how they will affect your subject and the highlights and shadows casted on it.


(works by observerz, jayuu, ra-lilium)
Adding a foreground
I know this article was about backgrounds, but... aren't foregrounds essentially part of the background too?! Another easy way to immerse your character into the scene is throughsuggesting the background continues all around the character, which can be done with a foreground.
Dynamic composition
A dynamic composition does not only make your work more interesting, but can also help immersing your character in the background through showing that your character interacts with/has an impact on the background. Eg. if your character is a fire mage, you can add magic effects, but also show burning houses/trees in the background.
Small tricks that can add dynamism to your work:
- Instead of having the horizon perfectly straight, slightly tilting it in the direction of motion or contrary to the direction of motion
- Having elements of your background follow motion lines (often used with clouds/skies, flames, magic effects, for example)
- Tilting perspective in the direction of motion
- Emphasizing certain areas with lighting
Values, enhancing the character
Since we already established that our brains are lazy and that they are focused on recognizing patterns, it's important to make a scene easy to read. The easiest way to do this is to make sure that the character has a clear silhouette against the background, and this can be done by creating a contrast in values. Values essentially refer to the lightness/darkness of a colour, without taking hue into account. In other words; think of your image as if it were in greyscale. Here are two quick tricks to check your values/the readability of the scene;
1. If you zoom out very far, and look at the thumbnail version of your piece, is it still
clear what the main features of your character are? (i.e. overall body shape, face, etc.)
2. If you change the settings to greyscale, is your character still clearly visible
against the background? Do the lighter/darker values make your character stand apart
enough to distinguish them from the background?

7. Finishing touches
This part varies per artist, but most have their own final touches for backgrounds and/or their artworks to add that final touch. These are some final effects you could add and how you can use them to enhance your artwork!
Blurs
Using a blur to the background can help add depth and/or motion to your piece! By blurring certain areas of the background, you can also guide the eye of the viewer; they will automatically focus on the not blurred parts, and pay less attention to the blurred parts. You can add depth by blurring parts that are further away or really close to the 'camera', and leaving the subject untouched, or motion by blurring the edges of moving objects. If using this effect, it's helpful to think about the way blur works in photographs to make it look natural! Some examples of how artists have incorporated blurs in different ways:


![[Blade And Soul Art Competition] Pohwaran by iorlvm](https://pre00.deviantart.net/f5d7/th/pre/i/2014/224/c/9/_blade_and_soul_art_competition__pohwaran_by_iorlvm-d7uy8fl.jpg)
Glows and light effects
Like blurring, adding glows to objects can help guide the viewer's eye. This type of effect can vary from glowing orbs or shapes to add 'magic effect' or overall glows on an object. Glow effects can be really nice, but it's easy to overuse them. Try to use them to improve the readability of your artwork/background, instead of decreasing it. Some other light effects that are commonly used are sparkles and lens flares, I like to use them to accentuate that one detail in either the foreground or the background. Again, be careful not to overuse them!


:origin()/pre00/6919/th/pre/i/2014/037/7/3/stocking__by_dahllange-d75biud.jpg)
Some artists choose to enhance their image through giving it a texture, such as watercolour and/or paper textures, film grain and noise. Contrasting textures also help to enhance certain parts of the work and suggest different materials.

In this work bykidchan, the artist has made use of a texture to enhance the face and the hair of the character, while also integrating her in the background by letting the texture cover her clothes, as well.
8. Improving
The best advice I can give you when it comes to backgrounds is; just start. They might seem complicated and scary at first, but if you never start, you'll never improve on them, either.
Something that can help a lot in terms of improving on backgrounds is doing some studies from real life, from time to time, even if you draw in a stylized style like anime/manga. By looking at references, you'll pick up useful practice with lighting, composition, and rendering of objects, and of course stylized styles are always to some extent based on reality! Even if your study ends up not looking like your reference at the start, there's always something that you have learned.


Examples of photo studies I've done myself
Furthermore, now you know the ins an outs of backgrounds, you can study your favourite artists and just why their backgrounds work so well! It never hurts to try and incorporate that in your own work... Thank you for reading this article! I hope this has been useful, and that you have learned something new! If you have any questions, please don't hesitate to ask me.
As I mentioned at the start, backgrounds are artworks of their own, and require just as a complex skill set as creating an entire piece. So at the start, of course it's overwhelming to work with very detailed and complex backgrounds, and of course it's okay to go easy on yourself from time to time as well. But the good news on the other hand is that as you improve as an artist, you'll automatically improve on backgrounds, as well!


Essay About Anime Drawing Style
Source: https://www.deviantart.com/kirwet99/journal/How-to-Background-A-Guide-720496679
0 Response to "Essay About Anime Drawing Style"
Post a Comment